
NorincoKid
Well-known member
Ill start with mentioning that I am a absolute NOVICE with a welder. I really...really am not good with it. Pretty much watched a youtube video, grabbed an inexpensive STICK welder and started screwing around with this kit. Please, for the love of Christ, do not look at this as a guide as to how to build one of these. It's probably better to look at it as more of a "Damn dude, that's NOT how its supposed to look" kinda thing.
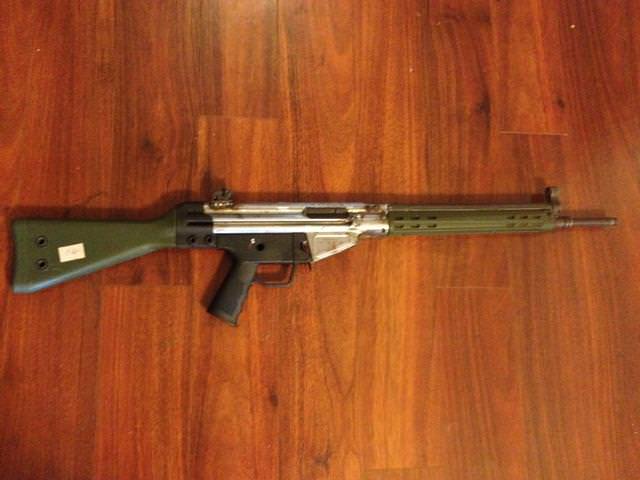
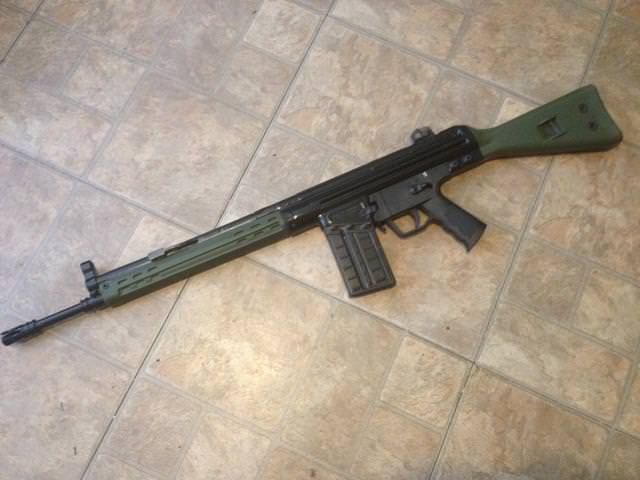
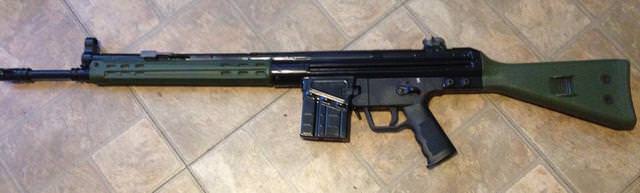
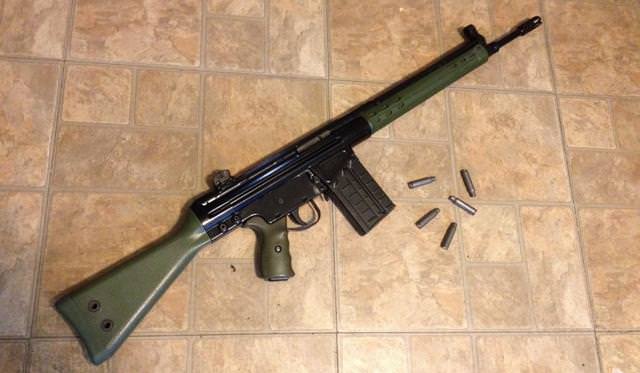
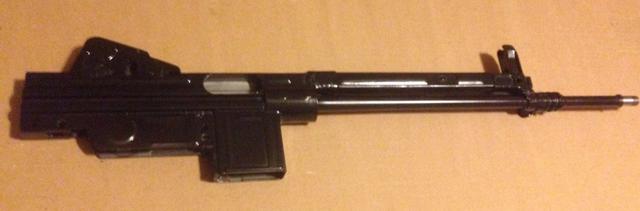
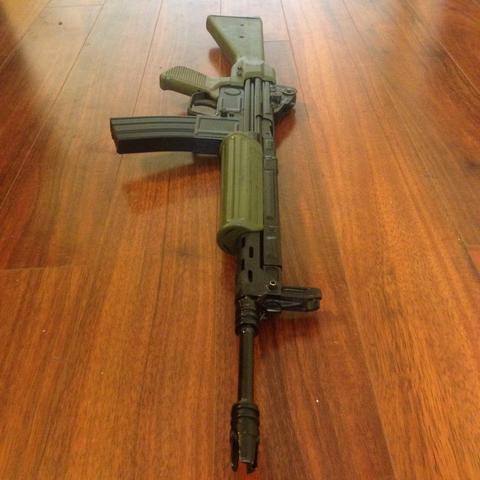
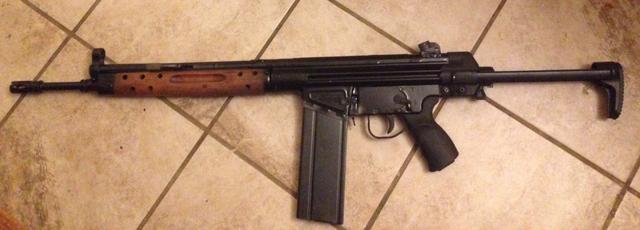
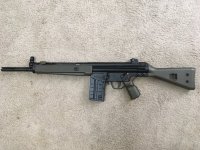
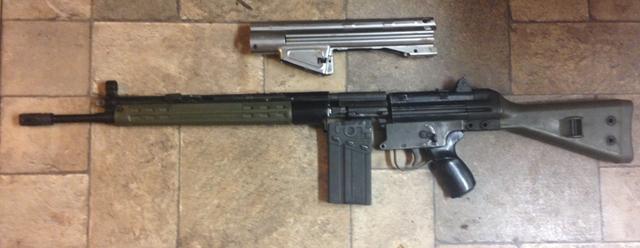
That being said, Finally got around to test firing this death trap of a HK clone today.
Despite the poor looking welding, it stayed together. The bolt carrier was a little sluggish for the first couple rounds but after that it started smoothing out (breaking in a little?). Seemed to cycle fine after the first two rounds through. Its actually quite pleasant shooting, mild recoil. Probably should have oiled it though.
I read that a TIG is preferred, MIG can do it, but never saw anyone in what I was reading do it with stick. It was alot of (poorly) cleaning up, a lot of figuring out the amp settings to get good penetration, trial and error etc. But it seems to be holding together. I'll likely re-do some of the plug welds so they are prettier looking though.
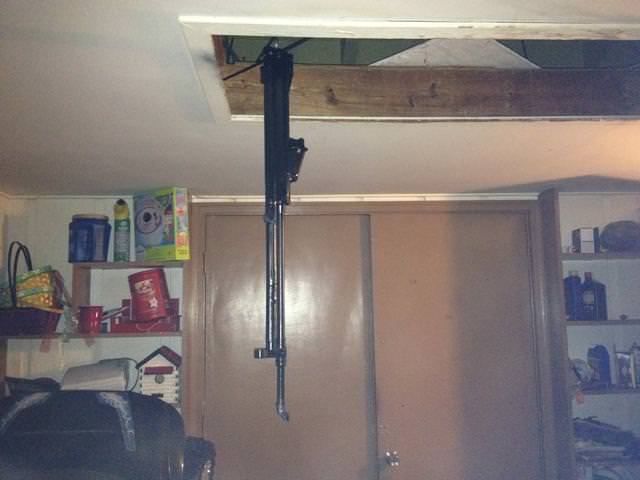
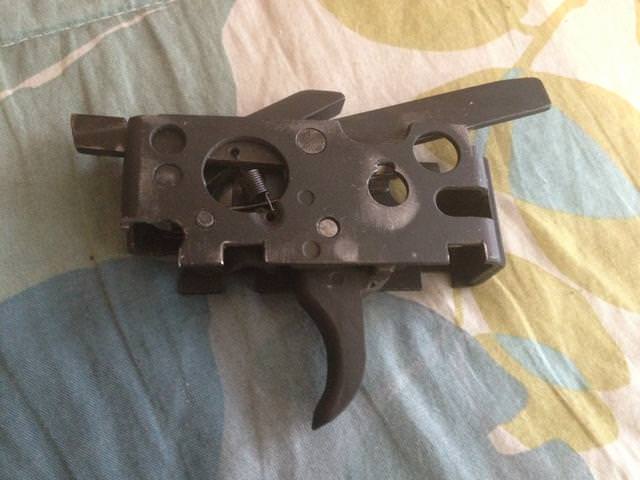
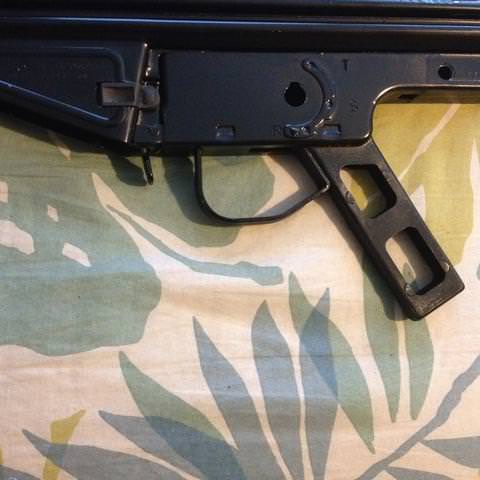
Anyways, a few pics I took along the way. Again, please keep in mind this is in NO WAY a good example of how to do these. Just wanted to show that it technically can be done at a low skill level, with entry level welding equipment and wind up being an ugly but functioning rifle.
Kits/barrels/flats are still pretty reasonable for these.
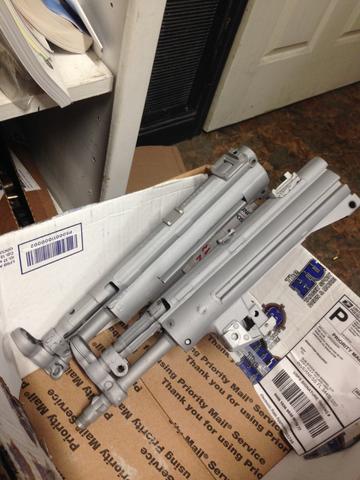
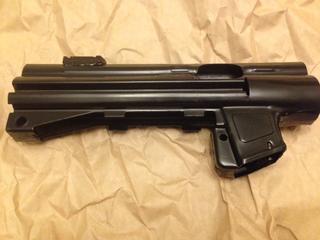
Got lucky and was able to grab a pair of the Gewehr Werks G3 bent receivers for $50 a pop when they blew out the rest of what they had. I couldn't buy a flat and bend it myself that cheap.
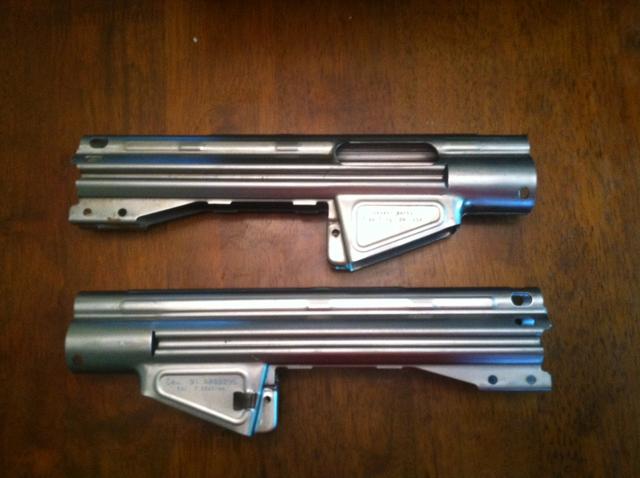
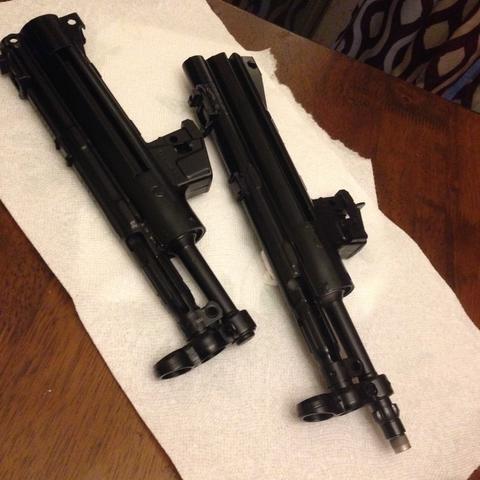
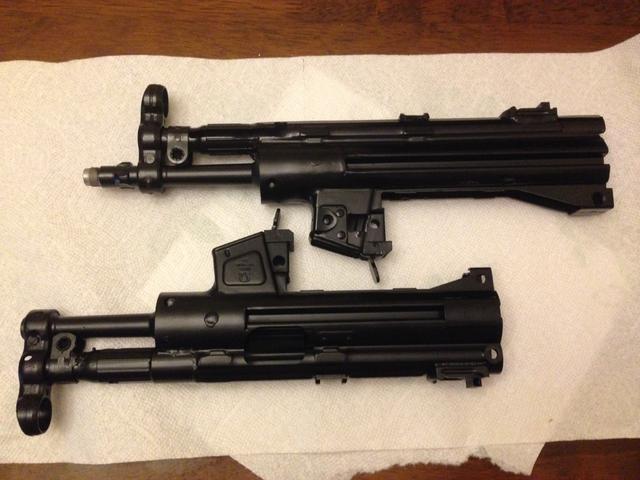
Get some kits cleaned up. Get the barrels headspaced and pinned, easier to slide a barreled trunnion assembly into the receiver than try to do it after the trunnion is welded in.
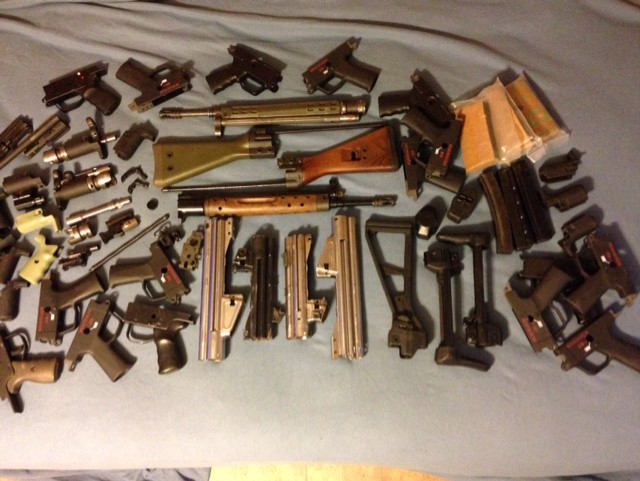
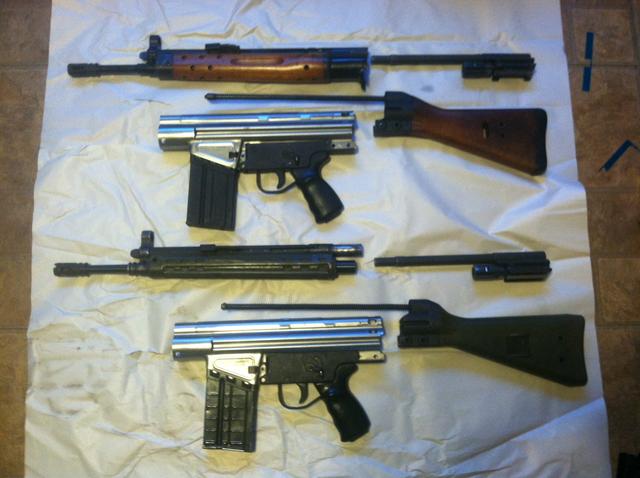
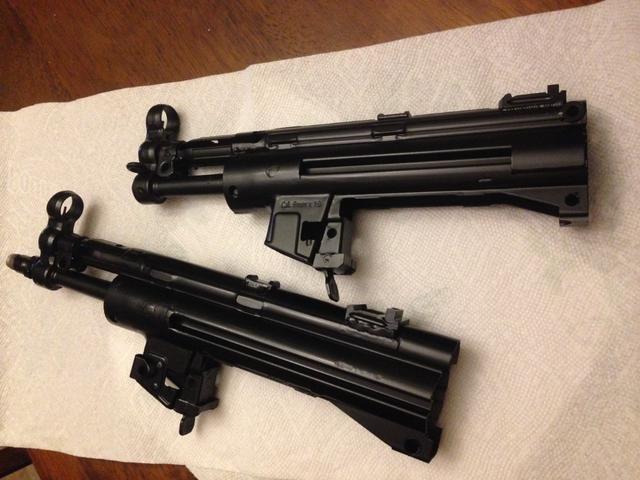
Old scrap receiver pieces help with making sure everything is lined up and cut properly. All the cuts & holes in the flat are undersize and need to finished to fit the new parts.
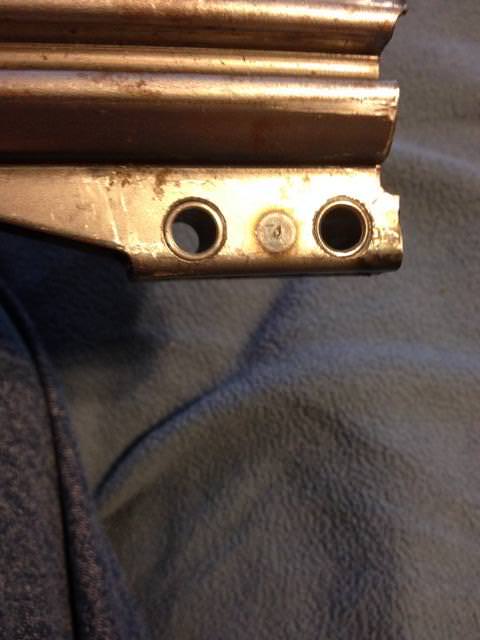
I started in the back. Used a 110v Harbor Freight spot welder setup for AK47 receiver rails to tack a support bracket inside the rear of the receiver. Then opened up the little holes in the flat (and the newly installed bracket) to about 8mm and ran a pair of bushings straight through. Then I welded up the seam on the bottom of the receiver where it comes together.
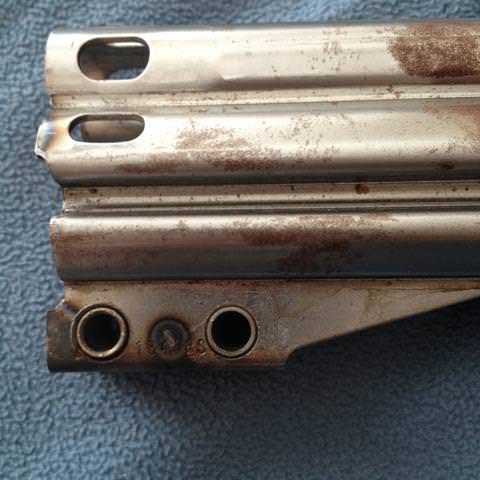
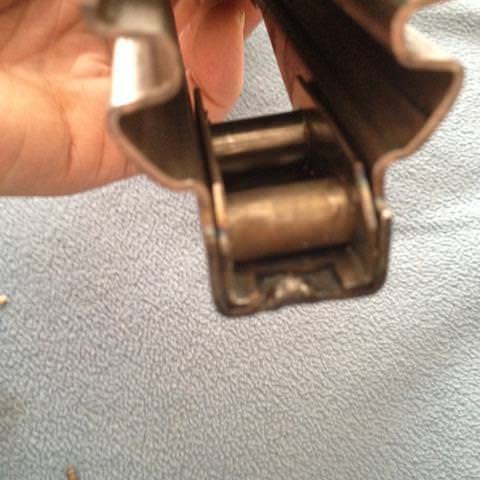
Then I used the HF spot welder again and started to mock up / tack the receiver together for the magazine release area. Just spot welded the crap out of it. Fit the semi auto shelf, and magazine release arm slot. Once it was all "as good as it going to get" , I just welded up the seam.
I located and set up the pin for the bushing that paddle release rides on. Gotta be kinda careful here because its frowned upon to go all the way through the other side of the shelf according to the ATF. The pin will have to be ground flush and welded up when welding the shelf in.
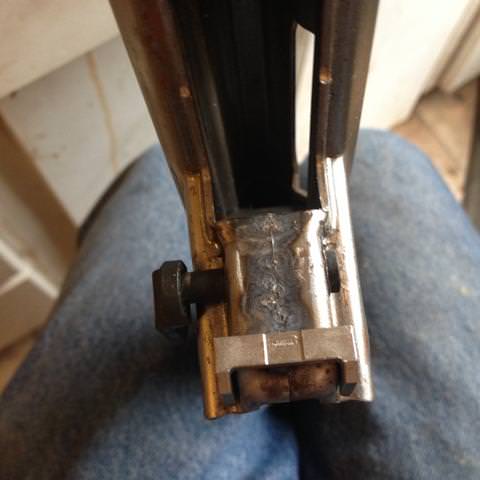
^ Run a bead up the seam
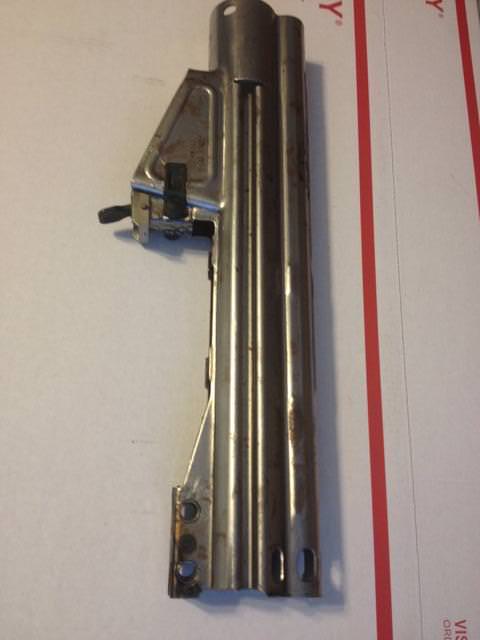
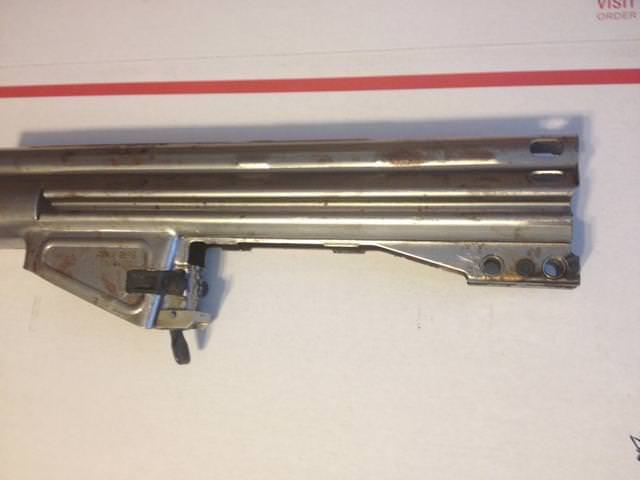
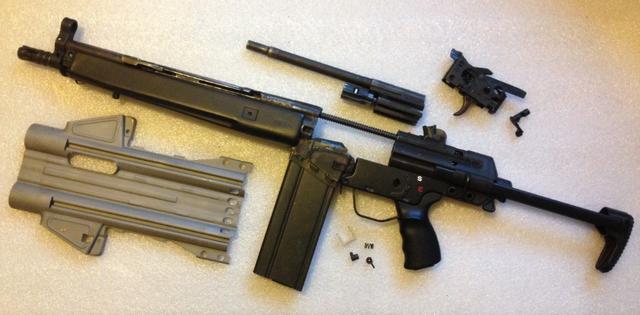
Test fit some stuff;
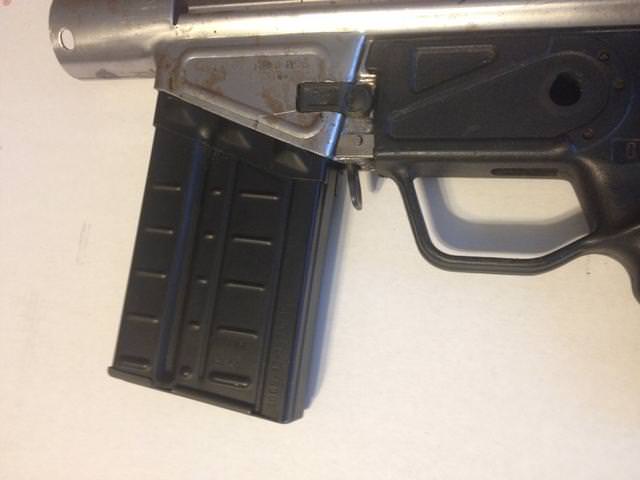
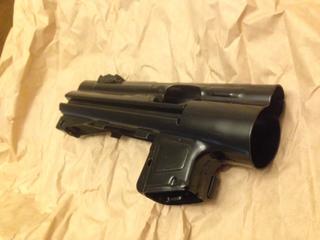
Then time to weld up the front of the magazine well and bottom of the receiver under the trunnion and start drilling the receiver for where its going to be plug welded.
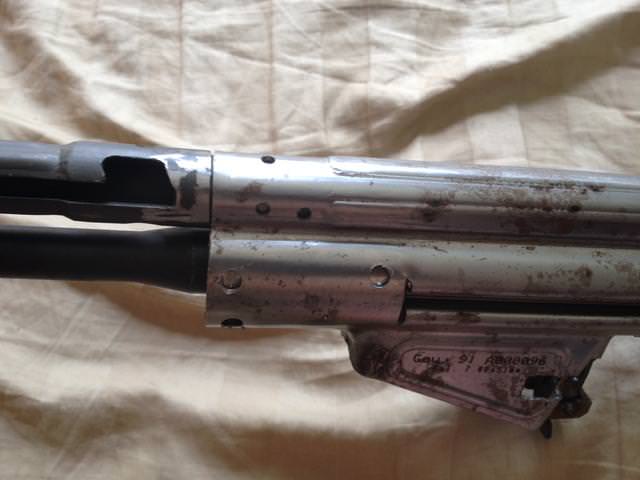
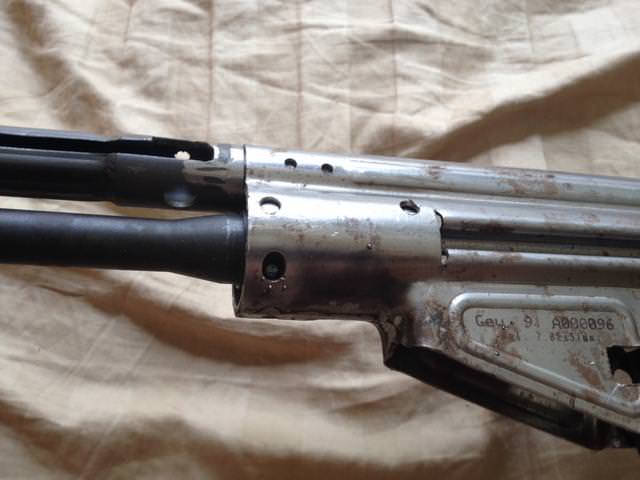
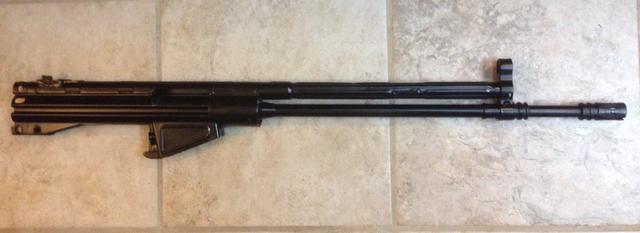
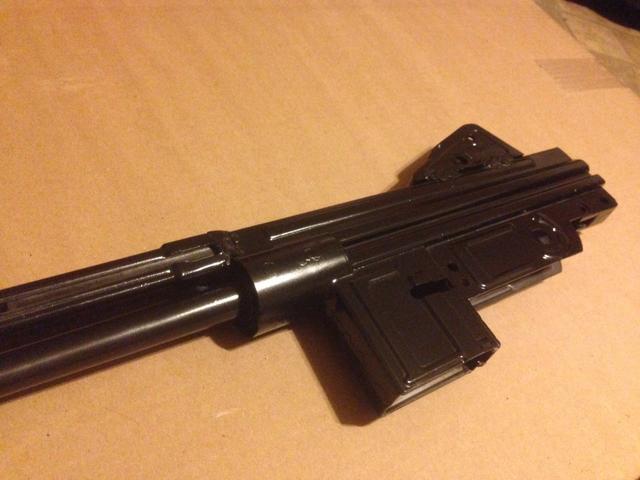
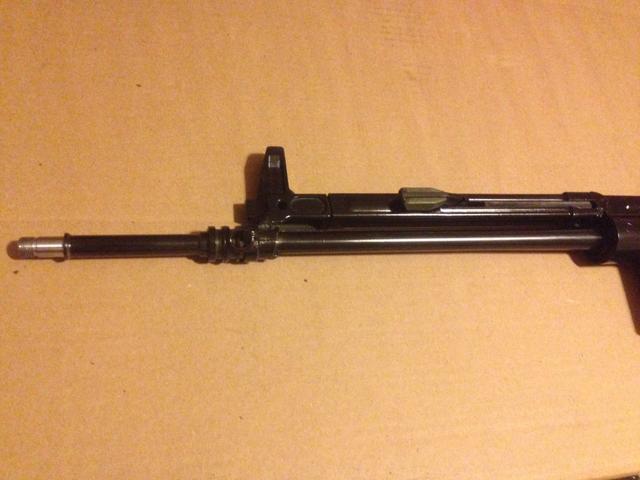
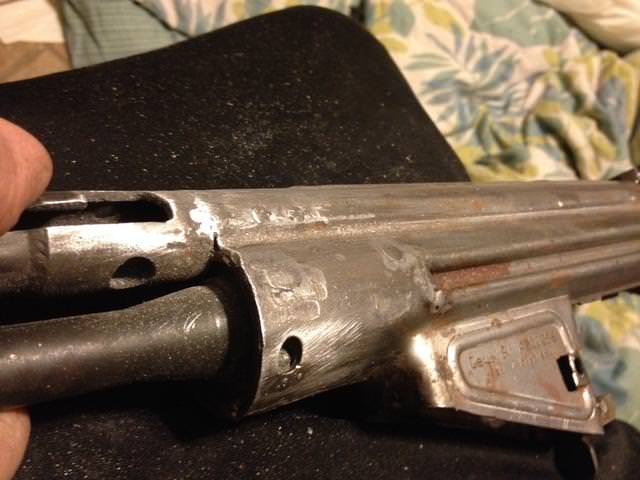
Some really crappy looking plug welds, and cocking tube seam. I got lucky and my cocking tube gap was pretty good as it sits and didn't need any messing around with.
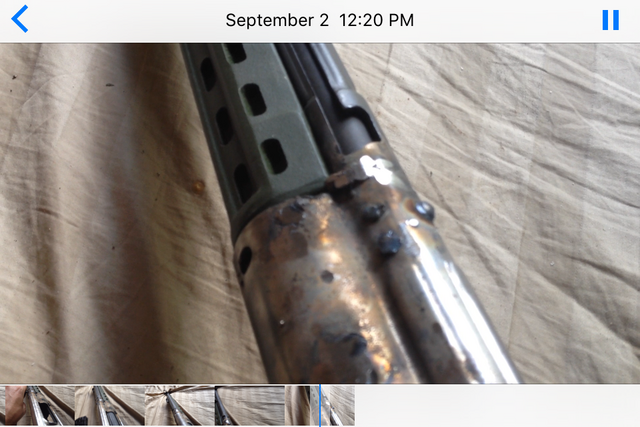
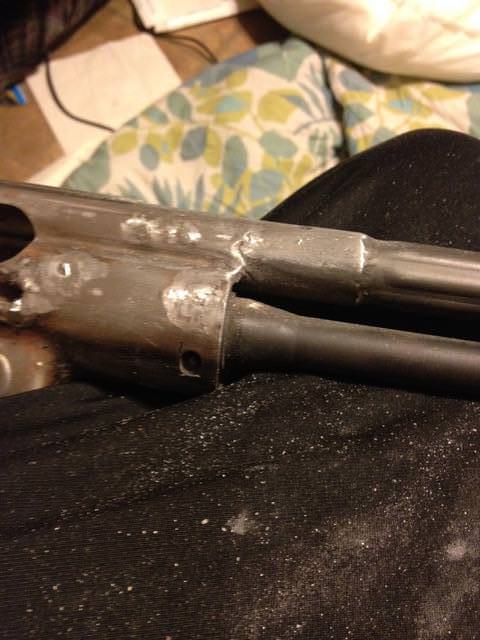
That being said, Finally got around to test firing this death trap of a HK clone today.
Despite the poor looking welding, it stayed together. The bolt carrier was a little sluggish for the first couple rounds but after that it started smoothing out (breaking in a little?). Seemed to cycle fine after the first two rounds through. Its actually quite pleasant shooting, mild recoil. Probably should have oiled it though.
I read that a TIG is preferred, MIG can do it, but never saw anyone in what I was reading do it with stick. It was alot of (poorly) cleaning up, a lot of figuring out the amp settings to get good penetration, trial and error etc. But it seems to be holding together. I'll likely re-do some of the plug welds so they are prettier looking though.
Anyways, a few pics I took along the way. Again, please keep in mind this is in NO WAY a good example of how to do these. Just wanted to show that it technically can be done at a low skill level, with entry level welding equipment and wind up being an ugly but functioning rifle.
Kits/barrels/flats are still pretty reasonable for these.
Got lucky and was able to grab a pair of the Gewehr Werks G3 bent receivers for $50 a pop when they blew out the rest of what they had. I couldn't buy a flat and bend it myself that cheap.
Get some kits cleaned up. Get the barrels headspaced and pinned, easier to slide a barreled trunnion assembly into the receiver than try to do it after the trunnion is welded in.
Old scrap receiver pieces help with making sure everything is lined up and cut properly. All the cuts & holes in the flat are undersize and need to finished to fit the new parts.
I started in the back. Used a 110v Harbor Freight spot welder setup for AK47 receiver rails to tack a support bracket inside the rear of the receiver. Then opened up the little holes in the flat (and the newly installed bracket) to about 8mm and ran a pair of bushings straight through. Then I welded up the seam on the bottom of the receiver where it comes together.
Then I used the HF spot welder again and started to mock up / tack the receiver together for the magazine release area. Just spot welded the crap out of it. Fit the semi auto shelf, and magazine release arm slot. Once it was all "as good as it going to get" , I just welded up the seam.
I located and set up the pin for the bushing that paddle release rides on. Gotta be kinda careful here because its frowned upon to go all the way through the other side of the shelf according to the ATF. The pin will have to be ground flush and welded up when welding the shelf in.
^ Run a bead up the seam
Test fit some stuff;
Then time to weld up the front of the magazine well and bottom of the receiver under the trunnion and start drilling the receiver for where its going to be plug welded.
Some really crappy looking plug welds, and cocking tube seam. I got lucky and my cocking tube gap was pretty good as it sits and didn't need any messing around with.
Last edited: